

How to Enable Geo-Fencing in Paycheckmaster Payroll System
Setting up Geo-Fencing in Paycheckmaster is simple and can be configured based on your company’s operational structure.
Step 1: Login to Your Admin Dashboard
Access your Paycheckmaster Admin Panel using your authorized HR or Administrator account.
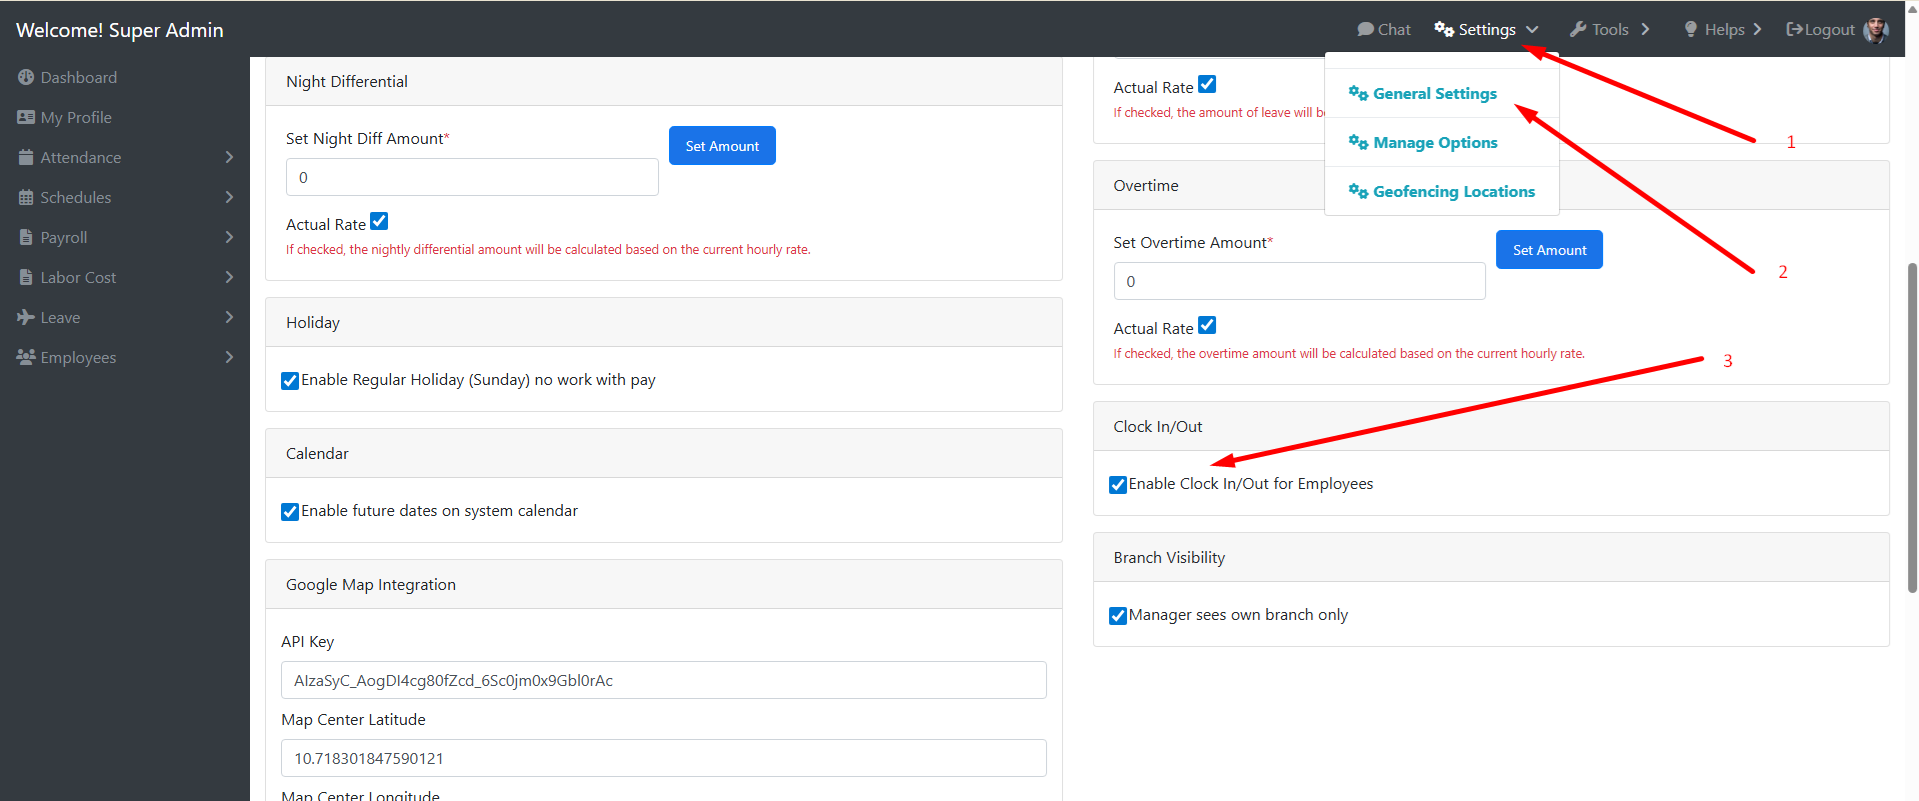
Step 2: Go to Settings
Navigate to:
Settings → Geo-Fencing Locations
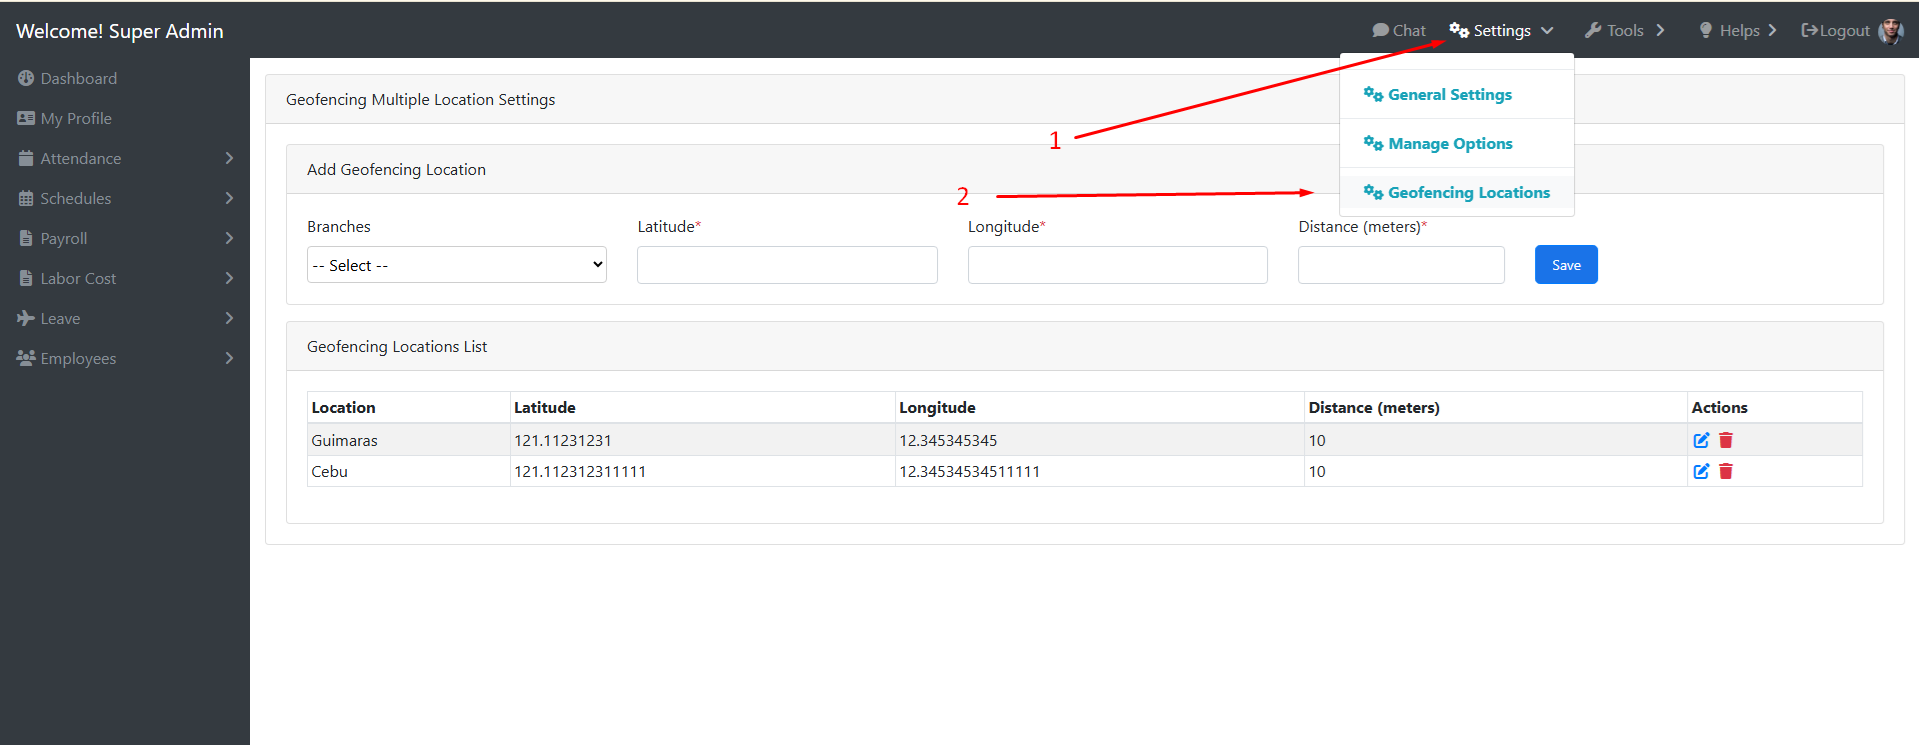
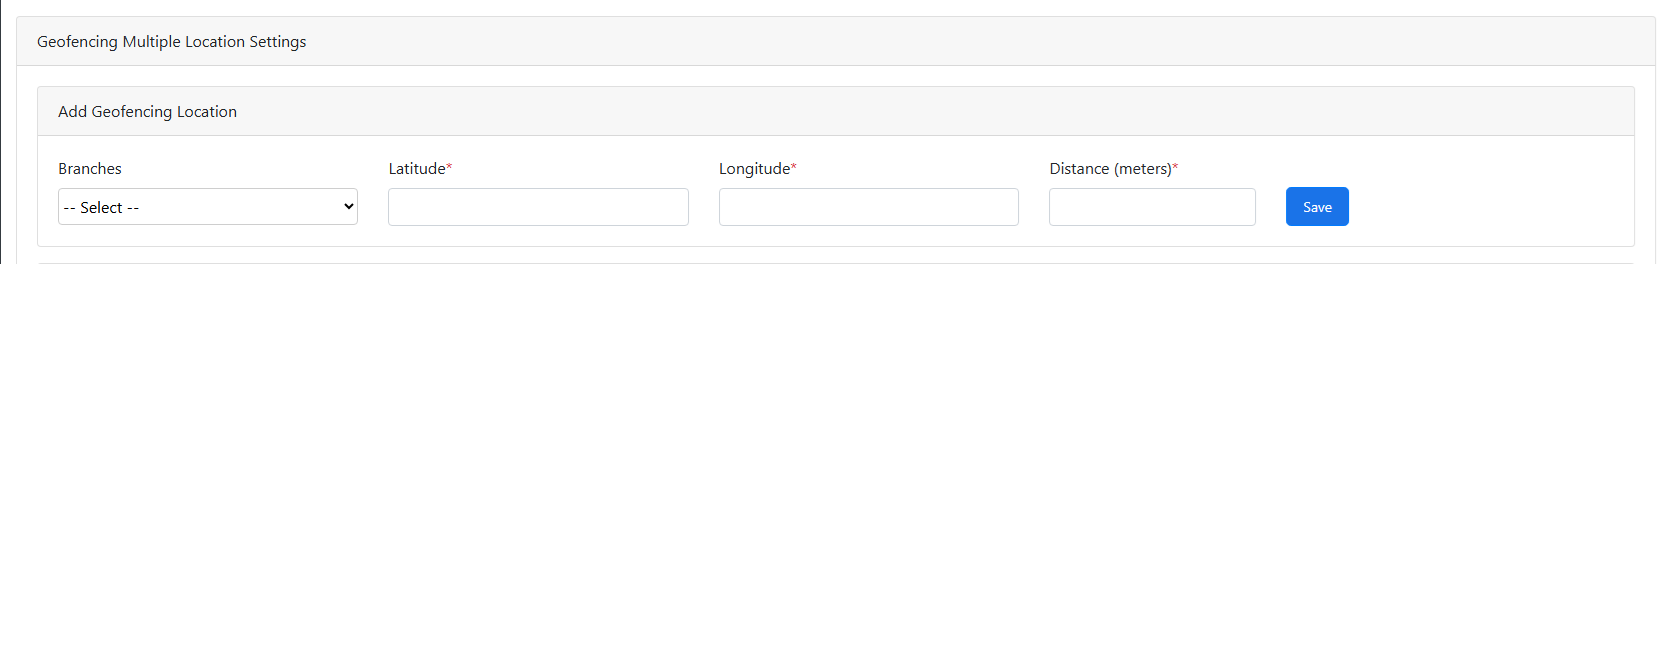
Step 3: Add Company Locations
Register your approved work locations including:
- Main Office
- Branches
- Project Sites
- Client Locations
- Warehouses or Operational Areas
You can configure:
- Location Name
- GPS Coordinates
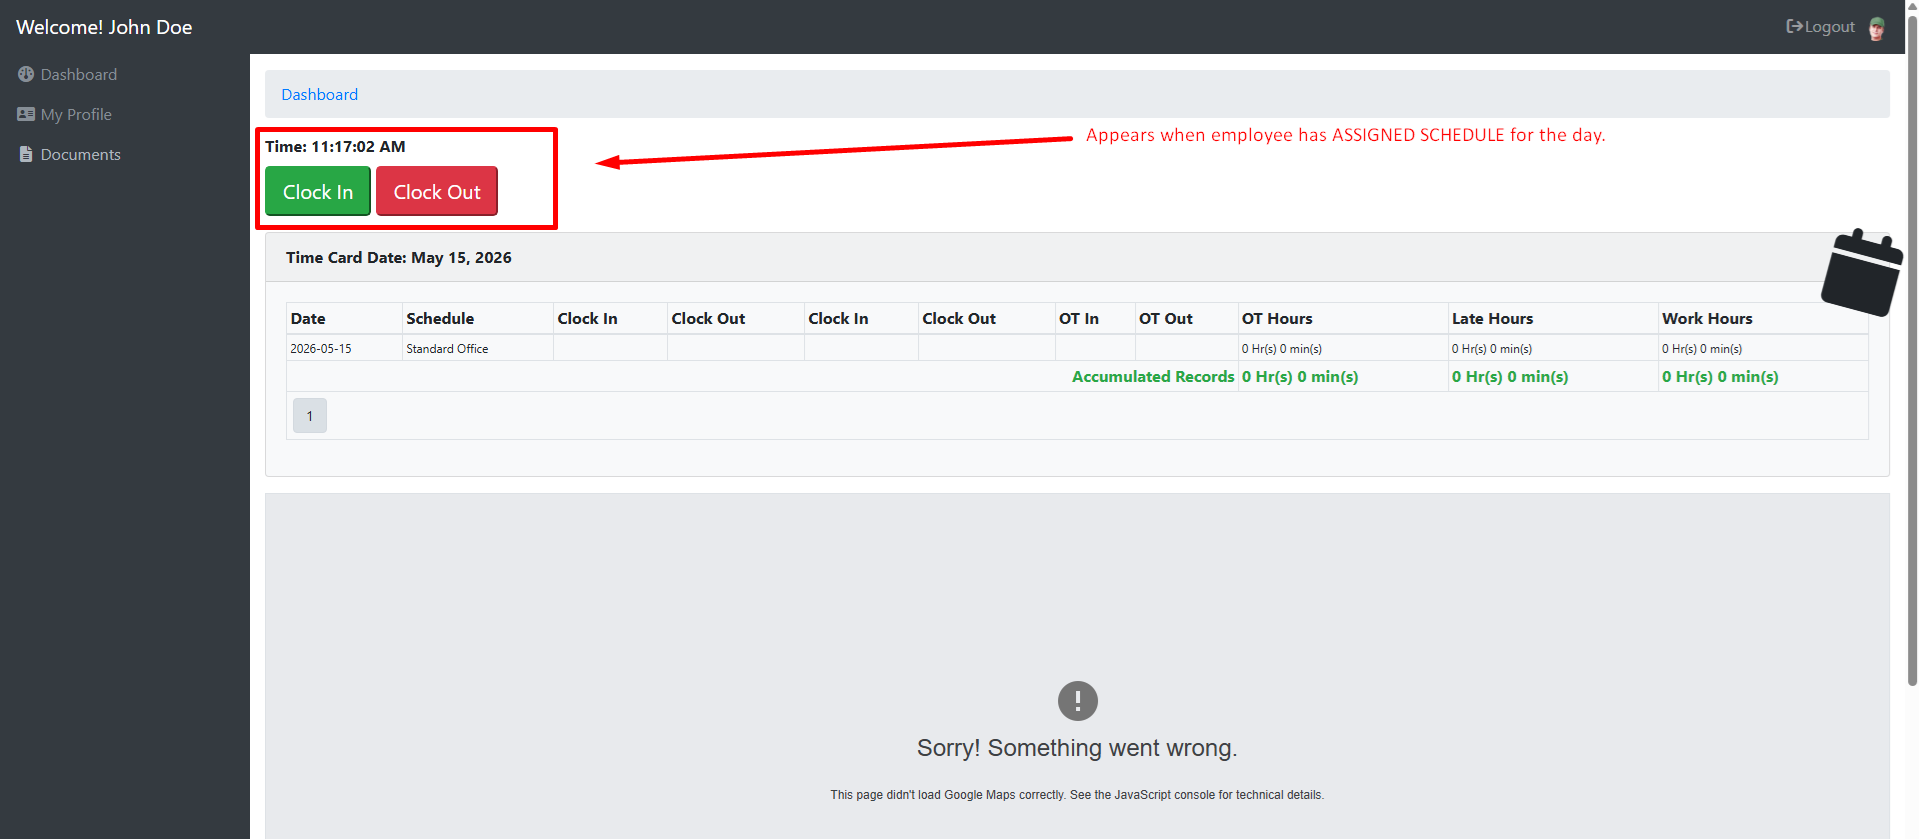
- Allowed Radius Distance – this determines the distance of the employees from the center point which is calculated using the Latitude and Longitude. If the employee is outside of the indicated radius, the Clock In/Out button disappears from the mobile
- Assigned Employees or Departments
The system automatically validates whether the employee is within the authorized Geo-Fence location during attendance transactions.
Step 5: Enable Mobile Attendance
Employees can use the Paycheckmaster mobile attendance feature to securely Clock In and Clock Out using GPS location verification.
Step 6: Save and Activate
Once setup is complete, simply activate Geo-Fencing to start monitoring attendance based on approved locations.
Smarter Workforce Management for Philippine Businesses
With Paycheckmaster’s Geo-Fencing Attendance System, companies in the Philippines can now manage workforce mobility more efficiently while maintaining accurate payroll and attendance records.
Whether your employees operate in offices, branches, project sites, or field locations, Paycheckmaster provides a smarter and more secure attendance solution built for modern business operations.